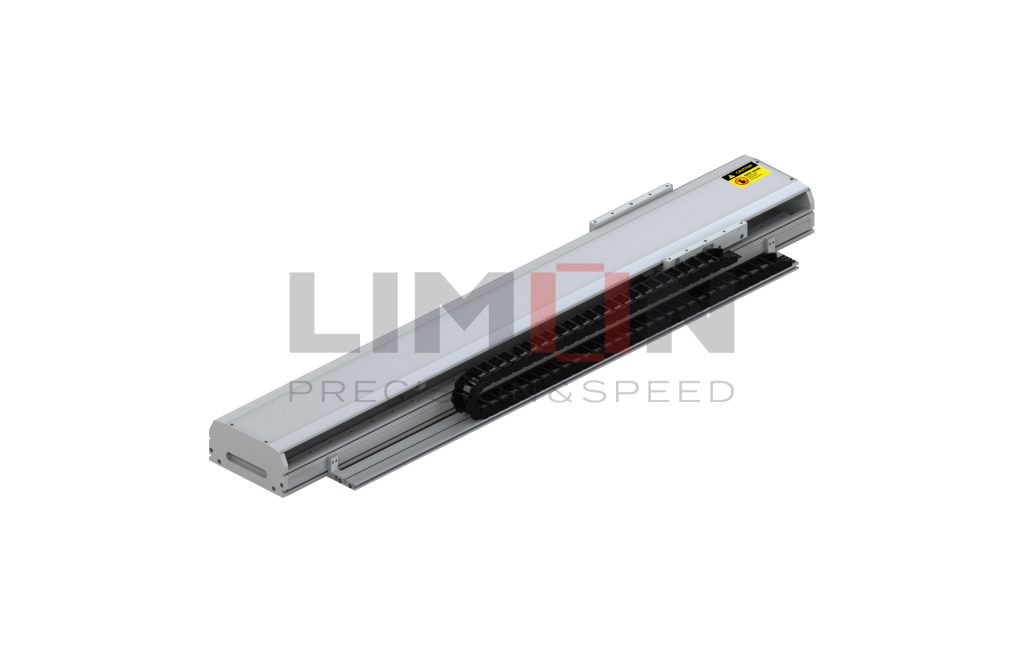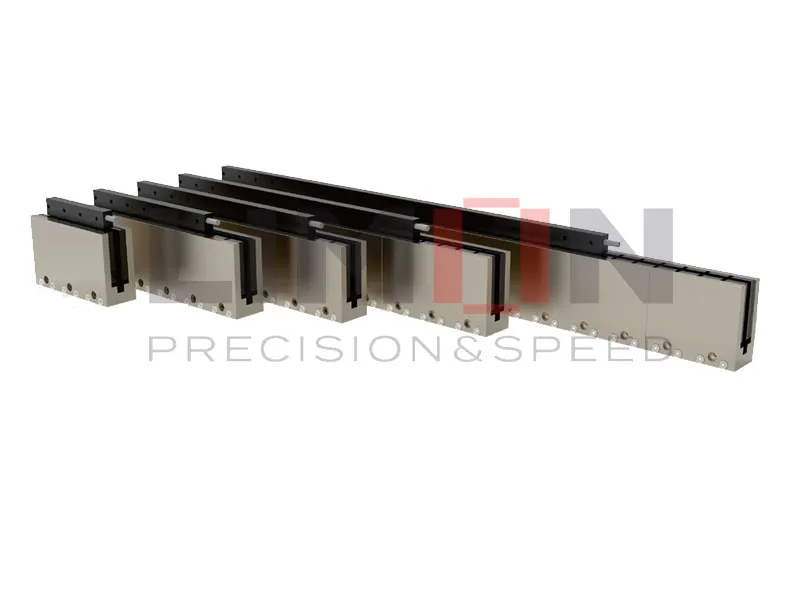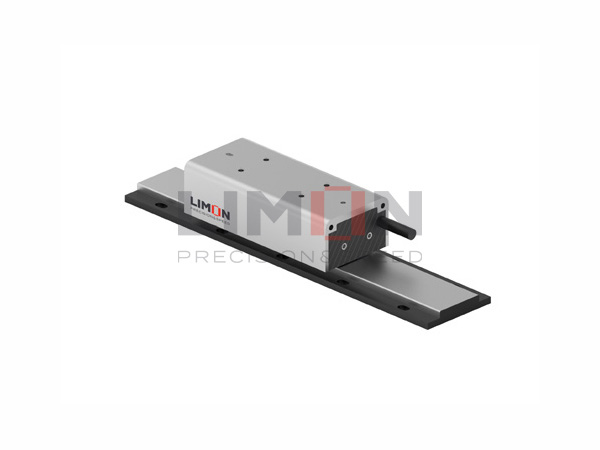
When engineers search “how to mount a linear actuator” or “how to mount linear actuator”, they’re usually at a critical stage of a project: installation.
Mounting a linear actuator correctly is just as important as selecting the right model. Even a high-performance actuator can fail prematurely if it’s misaligned, over-constrained, or improperly supported.
In this comprehensive guide, we’ll walk through:
- How to mount a linear actuator properly
- Common mounting mistakes to avoid
- Industrial best practices used in U.S. automation facilities
- How mounting affects performance, lifespan, and safety
- Future mounting trends in smart manufacturing
Whether you’re integrating automation in a Midwest production facility or building a custom CNC system in California, this guide will help you get it right the first time.
Why Proper Mounting Matters
Before we dive into how to mount linear actuator systems, it’s important to understand why mounting is critical.
Improper installation can cause:
- Premature ball screw wear
- Excessive side loading
- Increased motor torque
- Vibration and noise
- Reduced positioning accuracy
- Catastrophic mechanical failure
In American manufacturing environments where downtime costs thousands of dollars per hour, proper installation isn’t optional — it’s essential.
Step-by-Step Guide: How to Mount a Linear Actuator
Let’s break down the professional installation process used in industrial automation settings.
Understand the Application Requirements
Before installation, confirm:
- Required stroke length
- Load capacity (static and dynamic)
- Mounting orientation (horizontal, vertical, inclined)
- Environmental conditions (dust, moisture, washdown)
- Duty cycle requirements
In vertical mounting applications — common in material lifting systems — additional load considerations must be addressed to prevent back-driving.
Choose the Correct Mounting Method
When researching how to mount a linear actuator, you’ll find several mounting styles commonly used in the U.S. industrial market:
- Clevis Mounting
Allows pivoting movement at one or both ends. Ideal for applications with slight angular movement.
- Fixed End Mounting
Used when rigid linear motion is required with no angular deviation.
- Trunnion Mounting
Allows mid-body pivoting, often used in mechanical lift systems.
- Side Mounting Brackets
Provides additional support for long-stroke actuators.
Choosing the wrong mounting style is one of the most common installation mistakes.
Avoid Side Loading (Critical!)
Side loading is the number one cause of actuator failure.
Linear actuators are designed to handle axial loads — not lateral forces.
To prevent side loading:
- Use proper alignment tools during installation
- Incorporate linear guide rails or linear guide rods for load support
- Ensure mounting surfaces are level and rigid
- Avoid forcing the actuator into misaligned brackets
In high-precision U.S. CNC applications, even minor misalignment can drastically reduce lifespan.
Provide Proper Structural Support
Mounting surfaces must be:
- Flat
- Rigid
- Capable of handling vibration
Industrial facilities typically use:
- Steel machine frames
- Aluminum extrusion systems
- Welded support structures
A flexible mounting surface can cause resonance issues and accuracy loss.
Confirm Alignment and Parallelism
When installing actuators alongside guide rails:
- Ensure parallel alignment between actuator and guides
- Check straightness using dial indicators
- Test travel manually before powering on
Misalignment increases friction and motor load, reducing efficiency.
Test Before Full Operation
After installation:
- Run actuator at low speed
- Monitor for unusual noise or vibration
- Check motor current draw
- Inspect mounting bolts for proper torque
This commissioning phase is standard practice in American industrial automation.
Horizontal vs Vertical Mounting Considerations
When learning how to mount a linear actuator, orientation matters.
Horizontal Mounting
- Most common configuration
- Lower axial stress
- Easier alignment
- Often paired with linear guide rails
Vertical Mounting
- Requires brake motor or anti-backlash design
- Must account for gravity load
- Higher stress on drive mechanism
For vertical lifting systems in warehouses or production lines, safety factors should be increased.
Common Installation Mistakes to Avoid
Even experienced engineers can overlook critical details. Here are frequent errors:
Ignoring Load Calculations
Underestimating dynamic loads leads to premature failure.
Over-Tightening Mounting Bolts
Can distort actuator housing.
Skipping Guide Support
Actuators are not designed to handle bending moments alone.
Improper Wiring
Incorrect motor wiring can damage servo systems.
Lack of Environmental Protection
Dust or moisture exposure reduces lifespan.
Understanding how to mount linear actuator systems properly helps avoid these costly issues.
The Role of Linear Guides in Proper Mounting
For industrial-grade applications, actuators should not bear side loads independently.
Pairing actuators with:
- Linear guide rails
- Linear guide rods
- Cross roller guides
ensures optimal load distribution.
In modern U.S. automation systems, actuators and guides are increasingly integrated into complete linear modules — improving rigidity and simplifying installation.
Future Trends in Linear Actuator Mounting
As automation evolves, mounting technology is also advancing.
- Modular Motion Systems
Pre-assembled actuator modules reduce installation errors.
- Smart Alignment Monitoring
Sensors detect misalignment before mechanical damage occurs.
- Lightweight Structural Frames
Aluminum extrusion systems are replacing heavy welded frames in many applications.
- Integrated Safety Features
Built-in overload protection and braking systems enhance vertical mounting safety.
Manufacturers with fully integrated production capabilities are better positioned to support these advancements.
Why Quality Manufacturing Impacts Installation Success
Mounting success depends heavily on actuator precision.
High-quality actuators feature:
- Precision-ground ball screws
- Accurate parallelism
- Rigid housing design
- Reliable surface treatment
- Consistent dimensional tolerances
When tolerances are inconsistent, even perfect installation cannot compensate.
Why Choose Limon for Linear Actuators?
At Limon, we manufacture industrial-grade linear motion products including:
- Linear actuators
- Ball screws
- Linear guide rails
- Linear guide rods
- Linear bearings
With a fully integrated production line, we control:
- Machining precision
- Heat treatment
- Surface finishing
- Assembly quality
- Inspection standards
Our engineering team provides technical guidance on:
- How to mount a linear actuator
- Custom bracket design
- Load calculation assistance
- Complete motion system integration
We don’t just sell components — we help customers build reliable motion systems.
Final Thoughts: Mount It Right, Run It Longer
Understanding how to mount a linear actuator properly is essential for maximizing performance, safety, and longevity.
Correct installation ensures:
- Smoother operation
- Longer service life
- Reduced maintenance
- Improved positioning accuracy
- Lower total cost of ownership
As automation continues expanding across North America, precision installation practices will remain a competitive advantage.
If you’re designing a new automation system or upgrading existing equipment, our team is ready to help.
Ready to Build a More Reliable Motion System?
Explore Limon’s complete range of industrial linear actuators and integrated linear motion solutions today. Contact our engineering team for expert support and customized recommendations.
Because in industrial automation, precision starts with proper installation — and the right partner makes all the difference.